Getting started
Bevy is an efficient, simple-to-use, and fast-to-compile data-driven game engine written in Rust. It is based on the ECS (Entity-Component-System) paradigm and allows the definition of plugins, i.e., sets of components, systems, and resources that share a common objective.
The bevy_rapier2d and bevy_rapier3d crates which integrate Rapier to Bevy using their plugin system. To get the best of bevy-rapier multiple features can be enabled optionally:
debug-render-2d/debug-render-3d: enables the debug-renderer plugin.simd-stable: enables explicit SIMD optimizations using thewidecrate. Has limited cross-platform support but can be used with a stable version of the Rust compiler.simd-nightly: enables explicit SIMD optimizations using thepacked_simdcrate. Has a great cross-platform support but requires a nightly version of the Rust compiler.parallel: enables parallelism of the physics pipeline with therayoncrate.serde-serialize: enables serialization of the physics components withserde.enhanced-determinism: enables cross-platform determinism (assuming the rest of your code is also deterministic) across all 32-bit and 64-bit platforms that implements the IEEE 754-2008 standard strictly. This includes most modern processors as well as WASM targets.wasm-bindgen: enables usage ofrapieras a dependency of a WASM crate that is compiled withwasm-bindgen.
Cargo example#
To use these crates, the first step is to add a dependency to your Cargo.toml:
- Example 2D
- Example 3D
If you need to enable some Rapier features like SIMD, parallelism, serialization, or determinism, you can enable them on bevy_rapier directly.
- Example 2D
- Example 3D
Basic simulation example#
Here is a basic example of main.rs file. This creates a ball bouncing on a fixed ground. Details about the
elements used in this examples are given in subsequent pages of this guide.
info
The use bevy_rapier2d::prelude::* or use bevy_rapier3d::prelude::* will import all the most common types
needed to work with bevy_rapier.
- Example 2D
- Example 3D
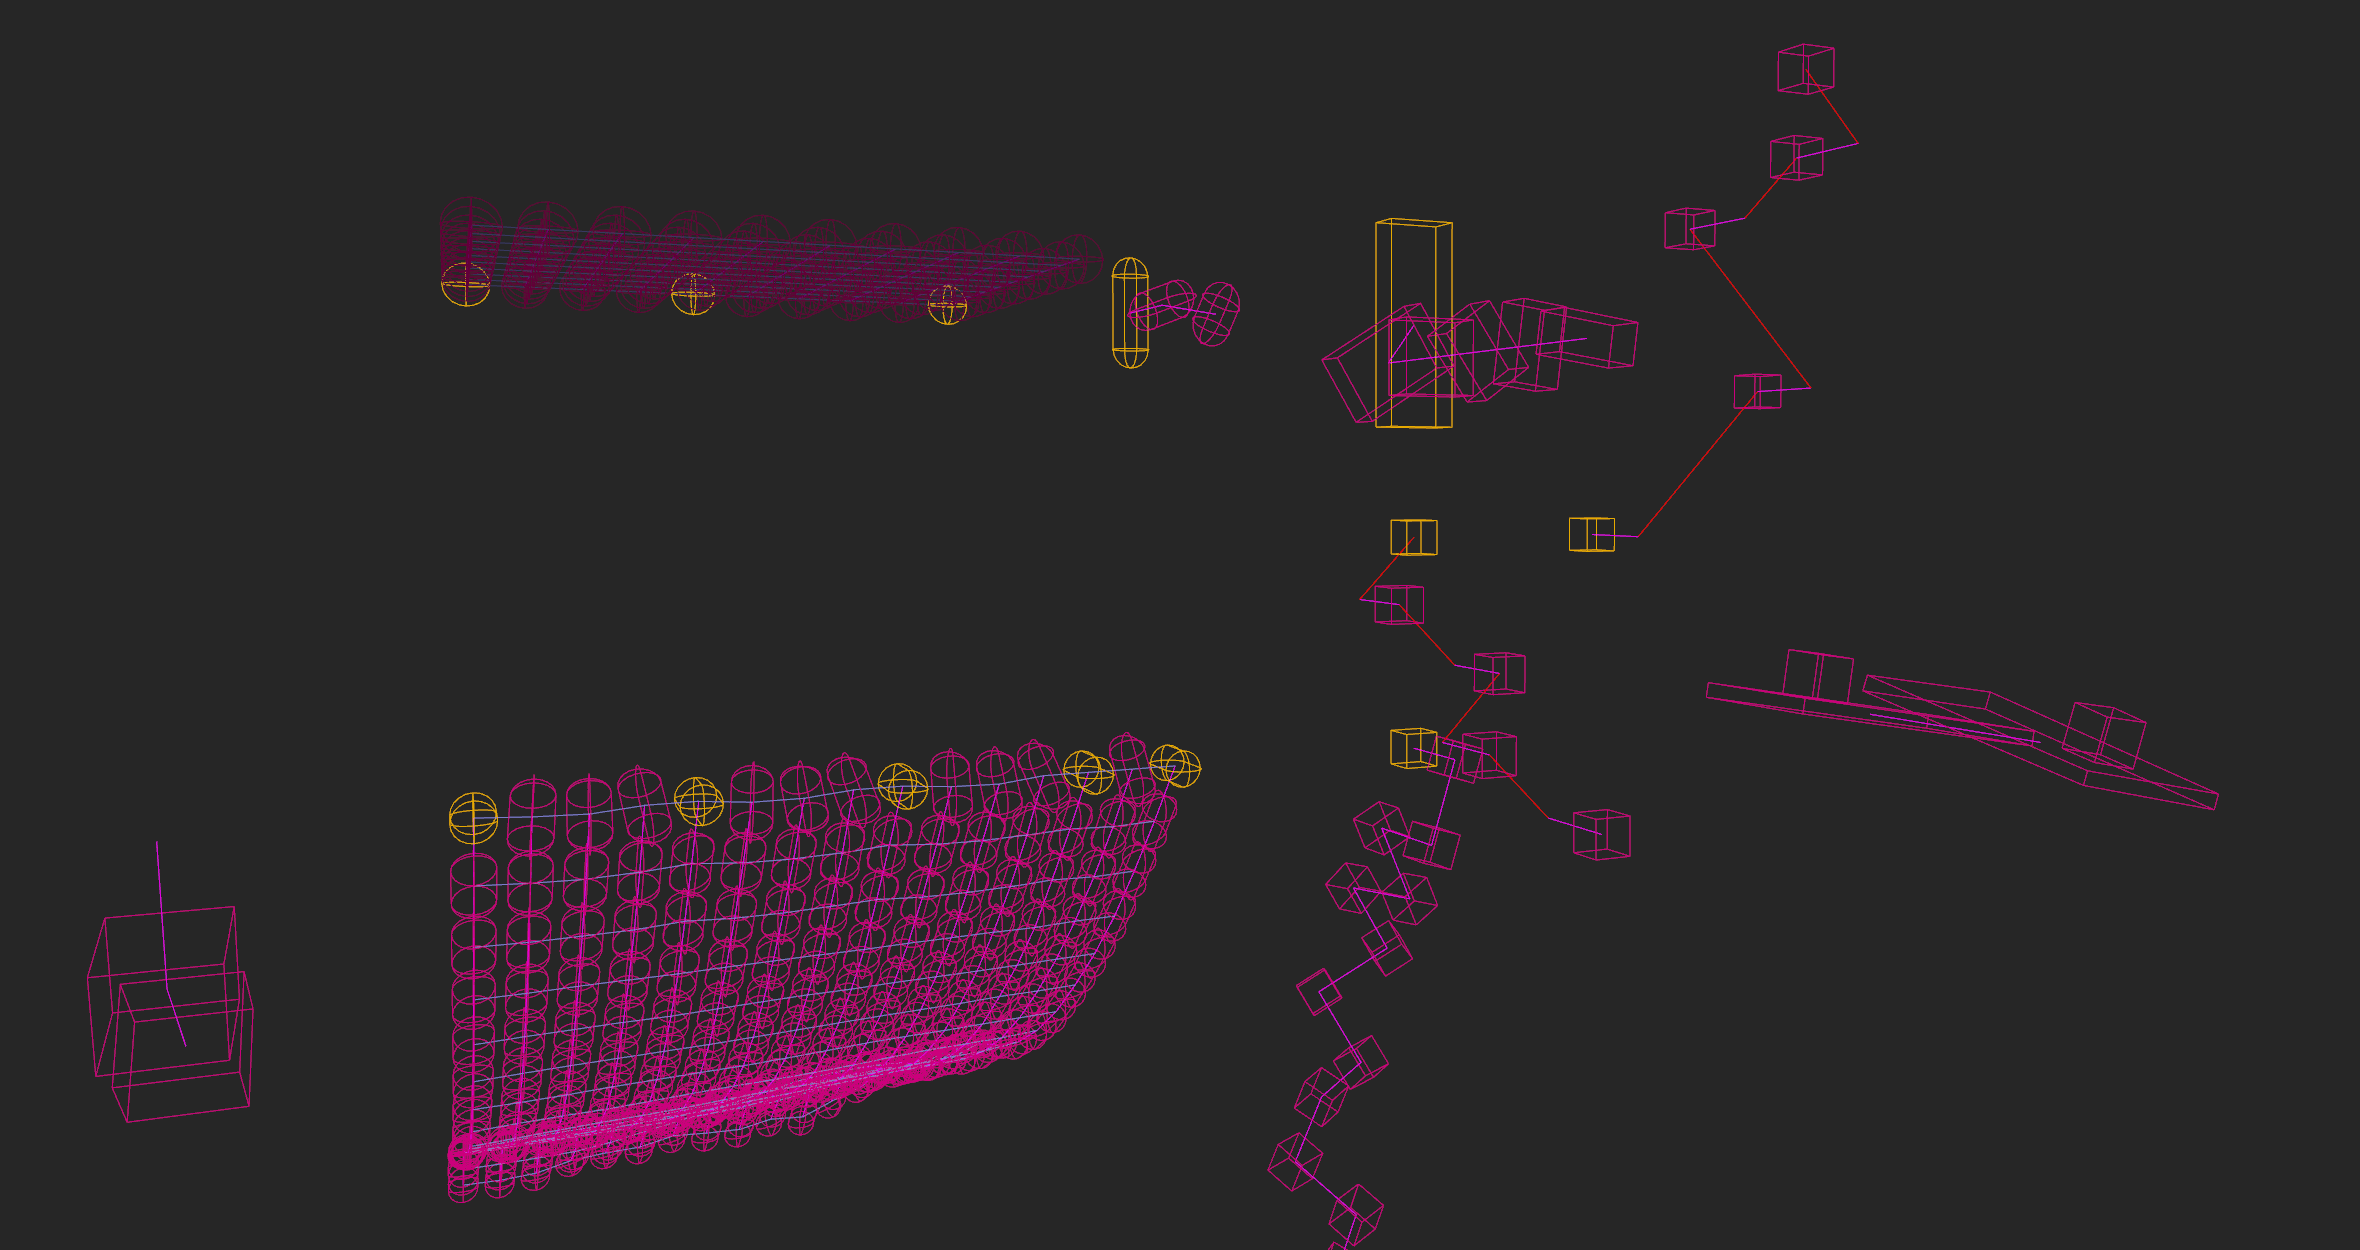
The debug renderer#
The bevy_rapier plugin comes with a debug-render (either debug-render-2d or debug-render-3d) to help visualize exactly what the physics-engine sees. This
can help fixing some bugs like colliders not being properly aligned with your graphics representation.
The debug-renderer is be enabled by:
- Enabling the
debug-render-2dordebug-render-3dcargo feature of bevy-rapier. - Adding the plugin
RapierDebugRenderPluginto the Bevy app.